Software Installation for Current Versions
Overview
-
Current Versions: Fathom 14, Arrow 11, Impulse 11, and xStream 4.
-
Previous Versions: Installation instructions for older versions differ and can be found on the Previous Version Installation page.
-
Downloads: Installers are downloaded from our Customer Portal. For instructions on registering see our Customer Portal FAQs.
-
Use the appropriate resource for your use case:
-
Standard Local Install - For individual engineers with appropriate permissions to install on your work computer.
-
Silent Install - For IT Admins doing mass-deployment for enterprises using software centers, Microsoft Intune, SCCM, RMM tools, etc.
-
Server Install - Legacy option that is no longer recommended, for IT Admins upkeeping source files on a central server.
-
-
Full installation setup consists of the following steps:
Note: Fathom, Arrow, Impulse, and xStream can be installed on an unlimited number of user machines, but the number of concurrent users is dictated by the number of seats which were purchased on the license.
Note: Add-on Modules like GSC, XTS, and SSL are already bundled with the application and are turned on/off from the software interface with a valid license. The Chempak Database add-on is bundled with the normal software installation starting in releases on or after 2025.08.22; however, it still requires a valid Chempak license to activate.
Requirements
-
License Number - This is a 9 or 10-digit number provided on the receipt of purchase in the format of XXXXX-XXXXX (the hyphen is part of the license number). Note: The License Numbers are product-specific and version-specific. For example, a Fathom 14 installer will reject a Fathom 13 License Number. Make sure you have the correct License Number from the software purchase receipt that applies to the product and version that is being installed.
-
Registration.txt File - This is a text file containing the required 32-digit eLicense Activation Code, and it is provided with the receipt of purchase.
-
Internet Connection - The PC must have access to https://my.nalpeiron.com (IP address 20.237.110.18, on port 443). Ensure it is not blocked by company firewalls.
-
Administrator Privileges - The application installation will require admin rights on the PC.
Standard Local Install
-
Download the installer from the Customer Portal.
-
Right-click on the installer and select Run as administrator.

-
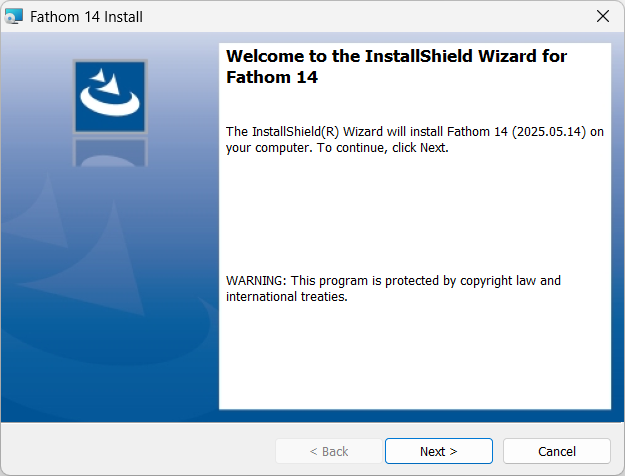
Click Next to begin the installation. This welcome screen displays the Maintenance Release Date in the format YYYY.MM.DD.
-
Read and accept the License Agreement.

-
Enter your Customer Information and License Number. Note: The License Numbers are product-specific and version-specific. For example, a Fathom 14 installer will reject a Fathom 13 License Number. Make sure you have the correct License Number from the software purchase receipt that applies to the product and version that is being installed.

-
Select Local Install (Recommended).

-
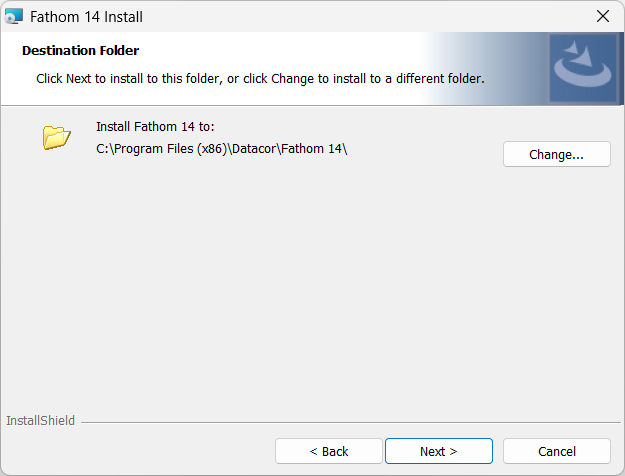
Click Next to accept the default install directory. Changing the install directory is not recommended and may require additional configuration.
-
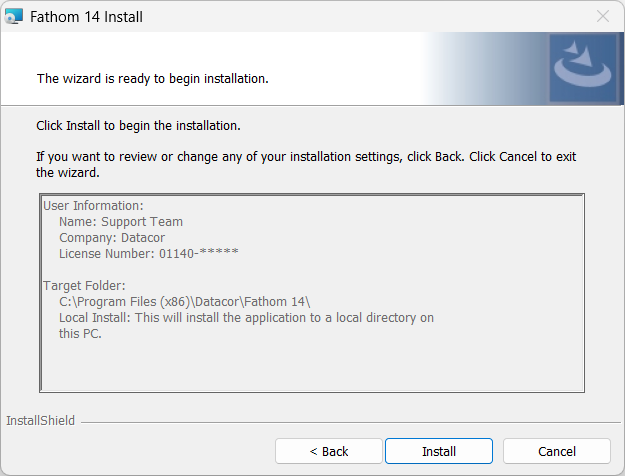
Review the queued installation tasks and click Install.
-
Click Yes on any Windows User Account Control (UAC) pop-ups to acknowledge the changes to the PC. The UAC confirmations are related to the installer checking for the following components which will be installed on the PC if they are not already present:
-
Microsoft Visual C++ Redistributable Packages (x86 for 2015 and 2010 SP1)
-
Microsoft .NET 8.0 Desktop Runtime (x64)
-
-
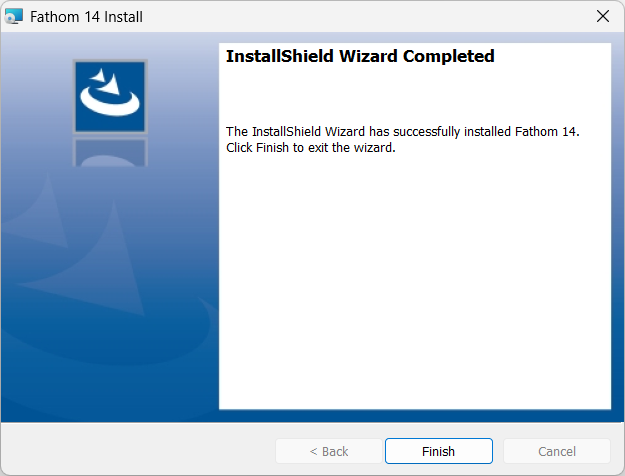
Click Finish.
Activating the eLicense
If you have previously used an eLicense on the PC from an older version of the application, then no further action would be needed. The Registration.txt file containing the eLicense Activation Code will be automatically copied from the old location to the new location upon trying to launch the application for the first time. If this is a fresh install, then you may receive the activation window depicted below.
First Time Setup for Typical User:
-
Launch the application.
-
Enter your 32-digit alphanumeric eLicense Activation Code into the window when prompted. This code is provided on the software purchase receipt. Or, if you have a past Registration.txt file in your records, the code may be found inside.

If you receive the above activation window but use a Legacy USB Key, then it means there was an issue with the USB. In this case, click 'I Have a USB Key Instead' which will open the USB Key Diagnostics window. From there, cross reference the error message with those listed on the USB Key FAQs.
-
Click 'Activate'. This will write the Registration.txt file to the appropriate directory (C:\Users\username\AppData\Roaming\Datacor\Licensing). A confirmation message will appear upon success.
-
Afterwards, the application will automatically launch. If there are any issues with the eLicense then a License Error may appear. If that is the case, then select the option to 'View additional eLicense information' and cross reference the error message with those listed on our eLicense FAQs.
IT Admin Manual Setup:
-
Create a new text file named "Registration.txt". If the file is misspelled it won't work.
-
Paste the 32-digit eLicense Activation Code inside on line 1 and save. This code can be found on the software purchase receipt.
-
Place the Registration.txt file into C:\ProgramData\Datacor\Licensing. The ProgramData\Datacor directory will exist from running the installer, but the "Licensing" folder will need to be created.
-
Note: In order to use the ProgramData\Datacor\Licensing folder, you must be using 2025.08.29 releases or later. Prior releases will not recognize this folder.
-
Note: The actual end destination of the Registration.txt file is C:\Users\username\AppData\Roaming\Datacor\Licensing because the file can have user-specific settings that require write permission. Our applications will automatically copy the file from C:\ProgramData\Datacor\Licensing to user appdata if it sees that it doesn't exist there. This is to reduce the amount of manual scripting that would be required by IT Admins to disseminate this file to all user folders. Furthermore, in the case of shared lab computers with multiple logins, the initial placement in ProgramData is sufficient for all users as our apps will automatically copy it to each user appdata. For legacy support, our applications will also search and attempt to copy the Registration.txt from C:\ProgramData\Applied Flow Technology or the application installation folder (C:\Program Files (x86)\Datacor\Fathom 14) if it is not present in either the appdata or ProgramData\Datacor\Licensing folder.
-
-
Try to launch the application to confirm success.